Leaking Water Meter: How to Diagnose and Fix It
The bill's jumped, no one's moved in, and there's no water on the floor. That's how most investigations into a leaking water meter start. Don't guess from the invoice. Prove whether water's moving when nothing should be running, then work out whether the meter's lying or correctly catching a plumbing leak downstream.
Table of Contents
- Confirm the Meter Is Leaking With a Zero-Flow Test
- Visual Checks That Narrow Down the Leak
- Temporary Fixes Until a Plumber Arrives
- Leak Detection Sensors and Alert Thresholds
- When to Replace a Leaking Water Meter
- Notify the Utility and Settle Who Pays
Confirm the Meter Is Leaking With a Zero-Flow Test
A high reading splits two ways. Water may be escaping through plumbing after the meter, or the meter itself may register badly and distort the balance. The zero-flow test separates those problems before anyone buys parts.
If you're not sure which dials or digits to record, check how to read a water meter correctly before you start. You'll need the meter number, register reading, meter size, and meter constant, meaning gallons or cubic feet per register unit.
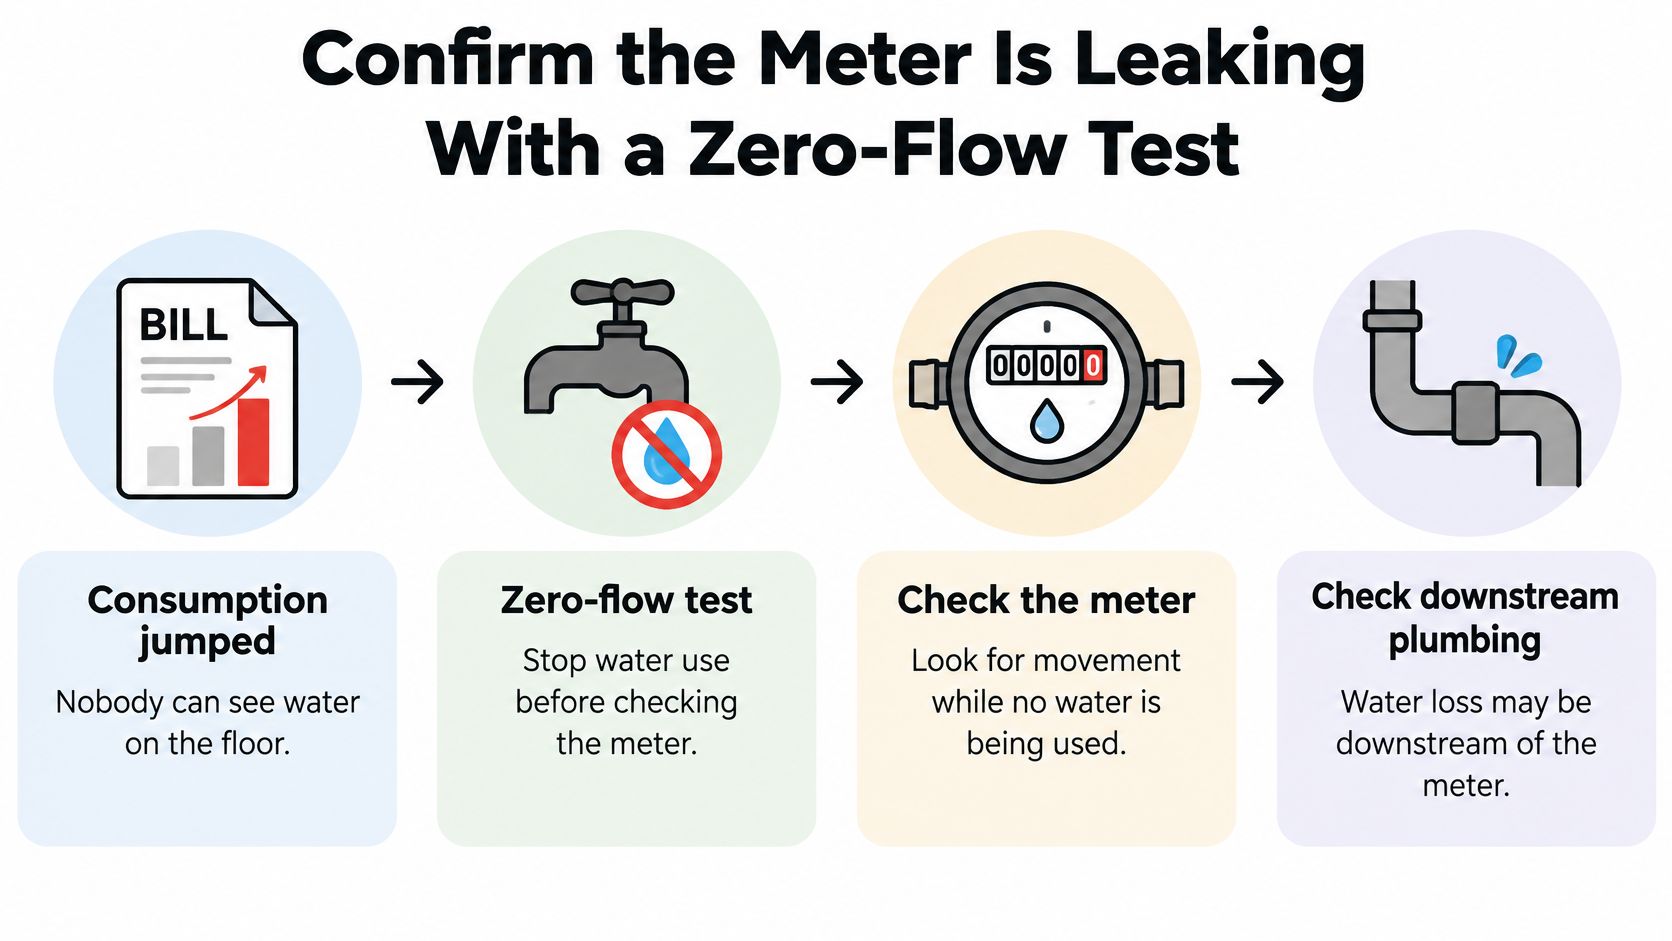
Run the Test in Four Steps
- Record the starting point. Note the meter number, reading, size, and constant from the account or meter face.
- Shut everything downstream. Close fixtures and appliances, turn off irrigation zones and recirculation pumps, and check automatic fills on softeners, humidifiers, and pool top-ups.
- Watch for 15 to 30 minutes. Observe the register, pulse output, or leak indicator while no water's in use.
- Convert any movement to flow. Use the meter constant, then trace the source instead of assuming the meter failed.
Bursts that come and go need care. Thermal expansion from a water heater, pressure-reducing valve drift, toilet seepage, and automatic make-up systems can all move the register intermittently. Steady movement is a stronger leak signal.
Zero-Flow Test Results and What They Mean
Observed result
Likely cause
Next action
Register does not move after 30 minutes
No active downstream leak, or an intermittent one
Log the time, then check toilets and irrigation overnight
Register moves steadily
Leak at or downstream of the meter
Isolate the source using the visual checks
Movement in bursts that stop
Thermal expansion, pressure-reducing valve or make-up tank
Check the water heater, pressure valve and softener before calling a plumber
Movement continues but the meter passes a flow test
Plumbing leak, meter is accurate
Repair the plumbing and keep the meter in service
Movement is low or absent while bills stay high
Possible under-registration
Request a formal meter test before replacing anything
San Diego shows why you can't skip the meter itself. Its system had approximately 275,050 meters, and the city estimated inaccurate or malfunctioning meters accounted for 30% to 40% of total water loss, as detailed in San Diego's meter evaluation of 275,050 meters. Starting in January 2012, it used meter testing, flow records, algorithms, approximately 200 smart meters, and 20 pressure loggers rather than waiting for visible leaks.
Practical rule: Don't replace a meter only because consumption's high. A correct meter may be proving a hidden leak.
Rental operators can pair this test with broader checks. The eight plumbing checks for rental properties from Northpoint Construction fit well beside a documented zero-flow result.
Visual Checks That Narrow Down the Leak
A wet meter box can point to a service-line leak; a dry one does not rule one out. Visual checks can locate exposed drips and fixture faults, but they cannot reveal leaks underground or inside walls. Those may require acoustic detection or flow monitoring.
Start at the meter box and visible connections, then check indoor fixtures and irrigation. Note where water appears and whether the spot is wet when the fixtures and irrigation are off. This helps narrow down the source, but the utility's responsibility for the meter or service line depends on local rules.
Visual Checks by Location and Sign of Leak
Check location
What to look for
What it points to
Meter pit or box
Standing water, soft or muddy soil, green patch on lawn
Possible leak at the service connection or meter couplings
Meter couplings and union nuts
Drips, mineral crust, wet gasket
Possible failing connection seal
Meter valve stems
Water at the stem, stiff or weeping handle
Possible worn valve packing
Toilet tank
Food colouring appears in bowl within 15 to 30 minutes
Flapper or fill valve may not be sealing
Water heater base and pan
Rust, pooling water, drip at the temperature-pressure valve
Possible heater or fitting leak
Supply lines and appliance hoses
Bulges, wet cabinet floor, drips at fittings
Possible hose or fitting failure
Irrigation valves and boxes
Wet spots, flow with all zones off
Possible zone valve that will not seal
For a toilet check, add food colouring to the tank, do not flush, and inspect the bowl after 15 to 30 minutes. If colour appears, the flapper or fill valve may be letting water through. At the water heater, inspect the pan and temperature-pressure valve. A leak there does not by itself prove the tank has failed.
A dry floor proves nothing. Pressurised water can escape into soil, wall cavities, or a toilet bowl without leaving a visible puddle.
Check irrigation with every zone off. Constant flow or a wet valve box can indicate a valve that is not sealing. Photograph each finding with the time, especially if you are disputing a bill.
Temporary Fixes Until a Plumber Arrives
Close the shutoff you're sure of. Don't remove meter seals, pull a meter, or tamper with utility equipment. You'll void clean testing and turn a repair into a billing fight.
That's the warning that matters most here. A stopgap should slow loss and protect finishes, not rewrite the evidence. Photograph the register before and after you touch anything.
Safest Fixes First
- Running toilet: Close the fixture isolation valve. Lift the flapper, clear grit from the seat, and replace a worn, curled flapper if you've got the right part.
- Dripping meter coupling: Snug the union nut slightly if it's clearly loose. Don't overtighten, since you can crack a fitting or crush a gasket.
- Weeping valve stem: Tighten the packing nut a quarter turn at most. If the valve still weeps or won't hold, stop and call the utility.
- Water heater pan filling: Shut the cold supply and turn the heater off. Put towels or a shallow pan down and keep people away from electrical components.
Meter pits need restraint. Pump standing water only if you can do it safely from above and you're authorised to access it. Don't climb into a pit or confined space, don't reach into water near electrical gear, and don't guess which valve belongs to the utility.
For a large leak with no working shutoff, close the curb stop only if you can reach it safely and you're allowed to operate it. Otherwise call the utility emergency line and protect flooring, documents, and electrical outlets while you wait.
What Not to Do
- No hammering valves: You'll break a stem that's already seized.
- No tape on pressurised joints: Pipe tape won't hold a live leak and hides the failure point.
- No chemicals in the pit: They contaminate the work area and solve nothing.
- No forced handles: A stiff valve that snaps leaves you with no isolation at all.
Stop point: If you can't name the valve, who owns it, and what it shuts off, don't turn it.
Write down what you closed, when you closed it, and whether register movement stopped. That short note helps the plumber and protects you if the utility later asks why consumption changed mid-investigation.
Leak Detection Sensors and Alert Thresholds
A property can show a steady overnight flow even when no one is using water. A continuous meter reading helps distinguish a likely leak from a single appliance cycle, and shows whether the meter itself is registering flow.
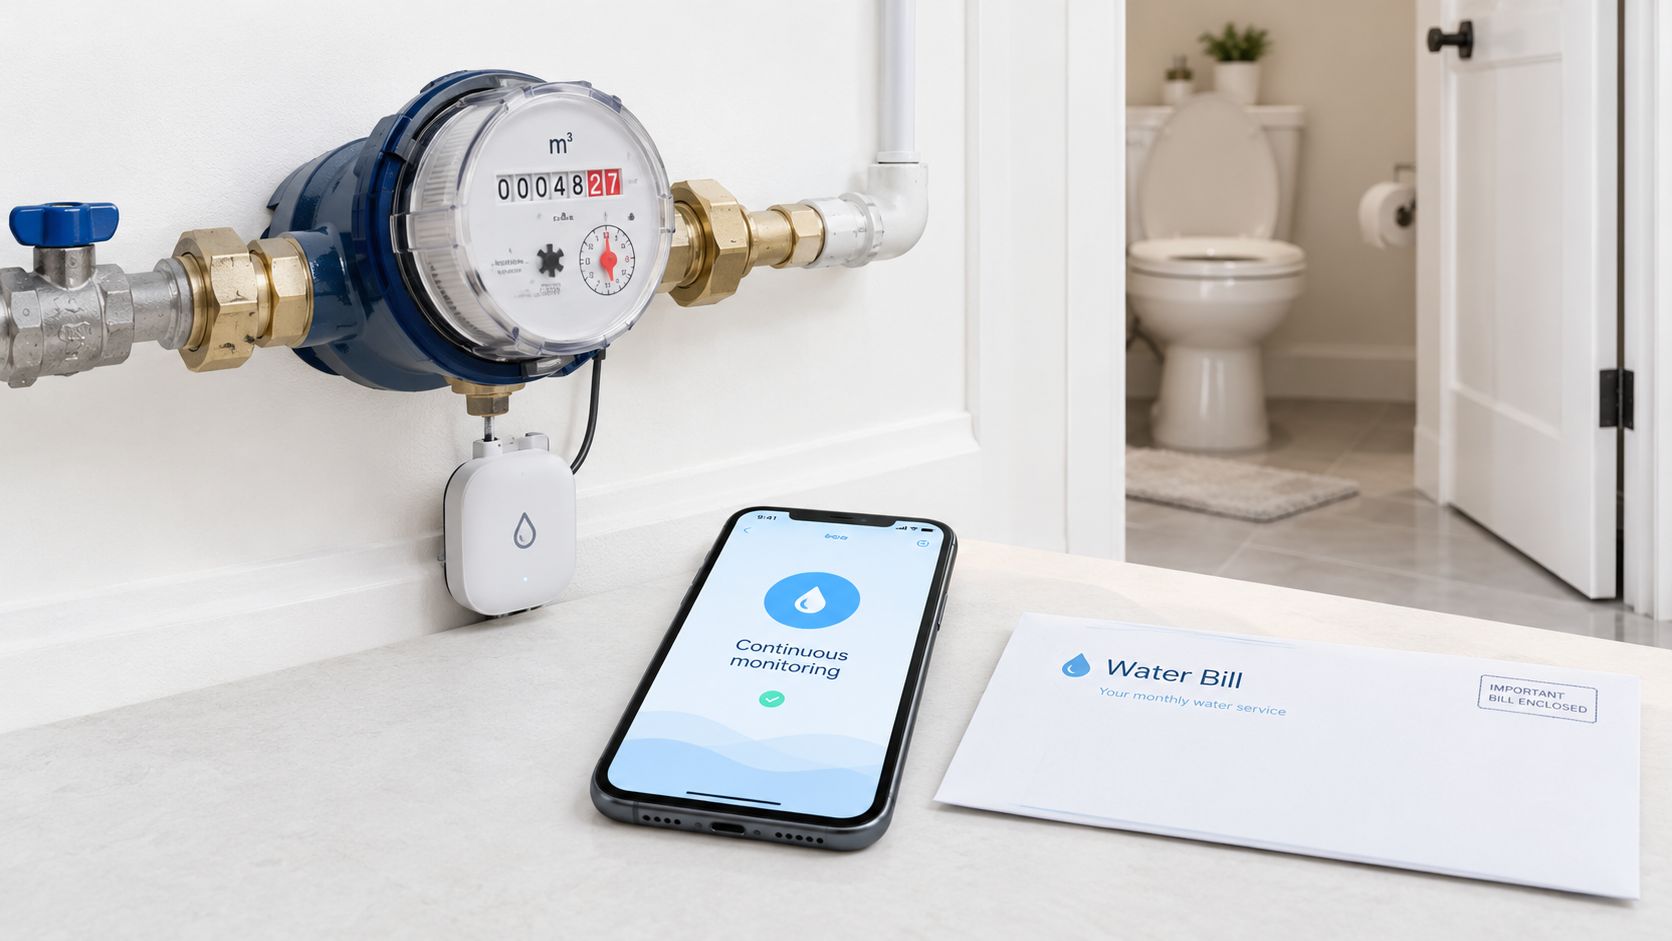
Set the Baseline Before the Alarm
- Choose a low-demand period. Use overnight hours or another time when the property is normally quiet.
- Record the baseline. Note expected overnight flow, including equipment such as ice makers or softeners.
- Set a practical alert. For example, trigger an alert if flow stays above the established baseline for three consecutive hours. Adjust the duration if scheduled equipment runs overnight, and use a lower threshold for a vacant property.
- Verify the reading. Compare the meter's register with the alert, then check likely fixtures and equipment before assigning the loss to a pipe, suite, or meter.
The three-hour setting is a starting example, not a universal rule. A short window catches smaller leaks sooner but can trigger on normal cycles; a longer window reduces nuisance alerts but delays response.
After a repair, compare the readings before and after. If flow remains above baseline, keep investigating rather than treating the alert as resolved. For a comparison of monitoring options, see how water leak detection sensors work in submetered buildings.
The video below shows how continuous alerts can prompt inspection before the next monthly bill.
What Each Sensor Catches and Misses
Smart meters can reveal abnormal continuous demand, provided the baseline is sound and each meter is mapped to the right suite. Acoustic sensors can help locate leaks in buried or concealed pressurised pipes, but cost more per monitoring point and need setup for the pipe material. Floor pucks under sinks, washers, or heaters alert after water reaches the sensor. Pressure-decay tests check an isolated section at one point in time; they do not provide continuous monitoring.
Axis Meter Solutions includes leak and flood detection with some water submetering installations, using alerts for unusually high or continuous consumption. Keep common-area and suite readings separate so an alert can be traced to the correct area and responsible party. A sensor signals where to investigate; it does not, by itself, prove who owes for the water.
When to Replace a Leaking Water Meter
A high bill can come from a plumbing leak, a misread meter, or a mismatch between the meter and the unit it serves. Replace the meter only when inspection or a formal test supports that decision.
Meters can under-register, stop, or record inaccurately. A high bill alone does not prove a meter is faulty. Utilities may test meters at several flow rates, since a meter can perform differently at low and high flows. Accuracy limits depend on the applicable utility rules and test standards, so use the utility's stated criteria rather than assuming one threshold applies everywhere.
Replace or Retest Meter Condition Criteria
Observed condition
Decision
Reference or test
Cracked or fogged register, or water inside
Replace if inspection confirms damage affects reliable reading or testing
Document the condition and ask the utility how it will verify the meter
Register does not move with known flow
Request a formal test; replace if the test confirms failure
Record the flow and the meter reading before removal
Suspected error at low flow
Request a formal test at the utility's specified flow rates; replace if it fails
Compare results with the utility's applicable accuracy limits
Suspected error at intermediate or high flow
Request a formal test at the utility's specified flow rates; replace if it fails
Compare results with the utility's applicable accuracy limits
Reads high after the plumbing leak is fixed and the meter passes
Keep the meter and investigate piping or suite mapping
Check cross-connections, shared lines, and common-area use
Past the utility's replacement cycle, with no recent test
Ask the utility whether scheduled replacement or testing is appropriate
Follow the utility's replacement policy
Damaged by freezing, flood, or impact
Inspect and formally test; replace only if the test fails or damage prevents reliable reading
Record visible damage and request the utility's assessment
A passing meter with continued high readings points to other causes. Check for cross-connections, mislabelled suites, shared piping, or common-area lines assigned to the wrong meter. Replacing a meter without checking these can leave the billing problem unresolved.
Ask for the full test record. It should identify the meter number, type, size, test date, readings before and after testing, test volume, and error at each flow rate. Keep the record with the repair and billing documents.
Notify the Utility and Settle Who Pays
A sudden increase doesn't automatically mean the tenant overused water. It also doesn't automatically mean the meter's defective. Location, test results, and notice dates decide who pays.
Rules vary by jurisdiction, so use California as a documented example, not a universal rule. If you're checking broader duties first, review whether landlords must pay for water and garbage, then follow your lease and local tariff.
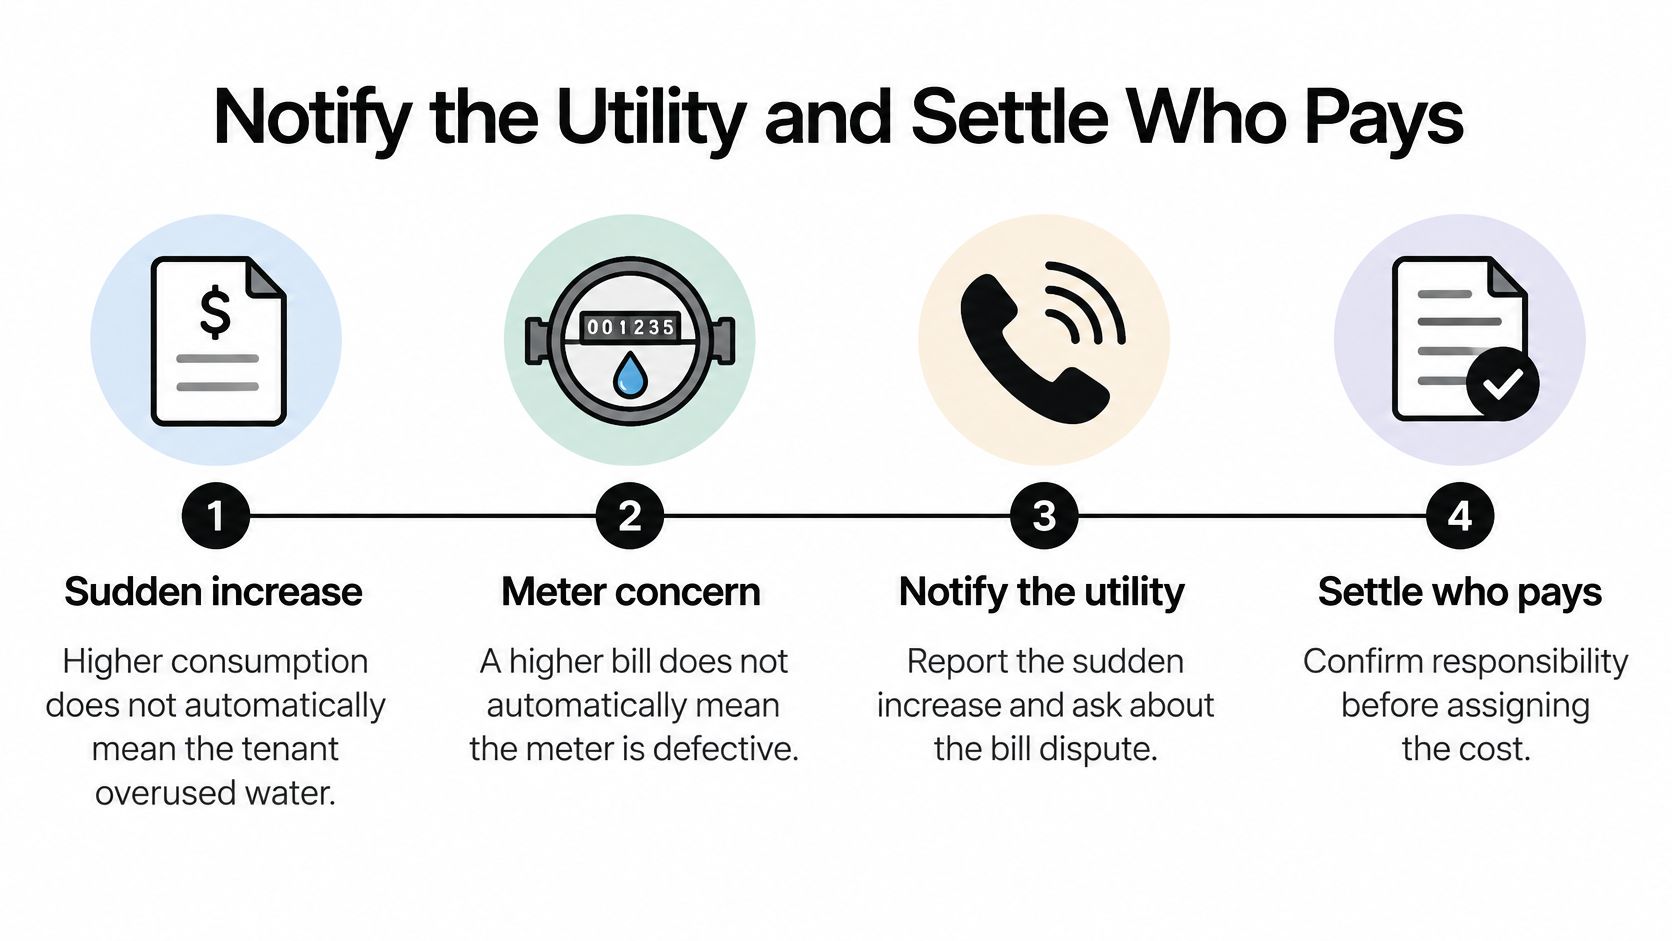
Give Notice in Writing and Keep the File
- Photograph everything. Capture the meter, register, fixtures, and any water damage with dates.
- Record start and end readings. Add your zero-flow result and estimated flow.
- Send written notice. Describe the leak or disputed reading to the landlord, association, utility, or submeter provider.
- Track the repair clock. Under California Civil Code section 1954.204 on leak reporting and submeter testing, landlords must investigate and repair within 21 days, with bill adjustments required if they don't.
- Escalate unresolved meter disputes. After written notice, a tenant may request testing by the county sealer.
- Document the repair date. Keep readings before and after so recovery is provable.
Who Usually Pays by Leak Location
Leak location
Usually responsible
Billing effect
Fixture inside the unit
Tenant or owner, per lease terms
Unit usage, billed to the suite
Piping downstream of the unit meter
Depends on lease wording
Unit usage if the lease assigns it
Riser or common-area piping
Owner or association
Common-area usage, not charged to the suite
Malfunctioning submeter
Utility or submeter provider
Adjustment or billing hold until tested
Meter-to-suite mapping error
Submeter provider
Corrected allocation across affected suites
Meter replacement follows the test. A failed formal test usually shifts replacement and disputed charges to the utility or submeter provider. A passing test usually leaves cost where the lease or tariff puts it.
Send the written notice this week. Keep photos, readings, test records, and repair invoices in one folder, because memory won't settle a chargeback three months later.
If you're tired of sorting leak disputes from monthly bills and meter photos, Axis Meter Solutions provides turnkey water submetering with leak and flood detection, tenant billing, and ongoing monitoring for multifamily, condominium, and mixed-use properties. Visit the site to discuss continuous flow alerts, meter-to-suite verification, and a documented response workflow for your building.
Ready to Optimize Your Utility Management?
Tell us about the property, utility, number of units, and your billing or monitoring goals. We'll help you identify the right next step.
Book a Call