Water Leak Detection in Walls: 2026 Guide for Owners
Typical household leaks can waste more than 10,000 gallons of water a year, and about 10% of homes have leaks wasting at least 90 gallons a day. That's why a wall leak isn't a cosmetic nuisance, it's a building problem that can inflate bills, irritate tenants, and damage drywall long before anyone sees a stain.
I've spent enough time tracing hidden failures through condos, apartments, and commercial corridors to know the pattern. A tenant smells dampness near one unit, the common-area bill climbs, another resident reports bubbling paint, and suddenly the search spreads across multiple floors. The job is to separate noise from signal, find the failure without tearing open half the wall, and stop the same issue from turning into a recurring expense.
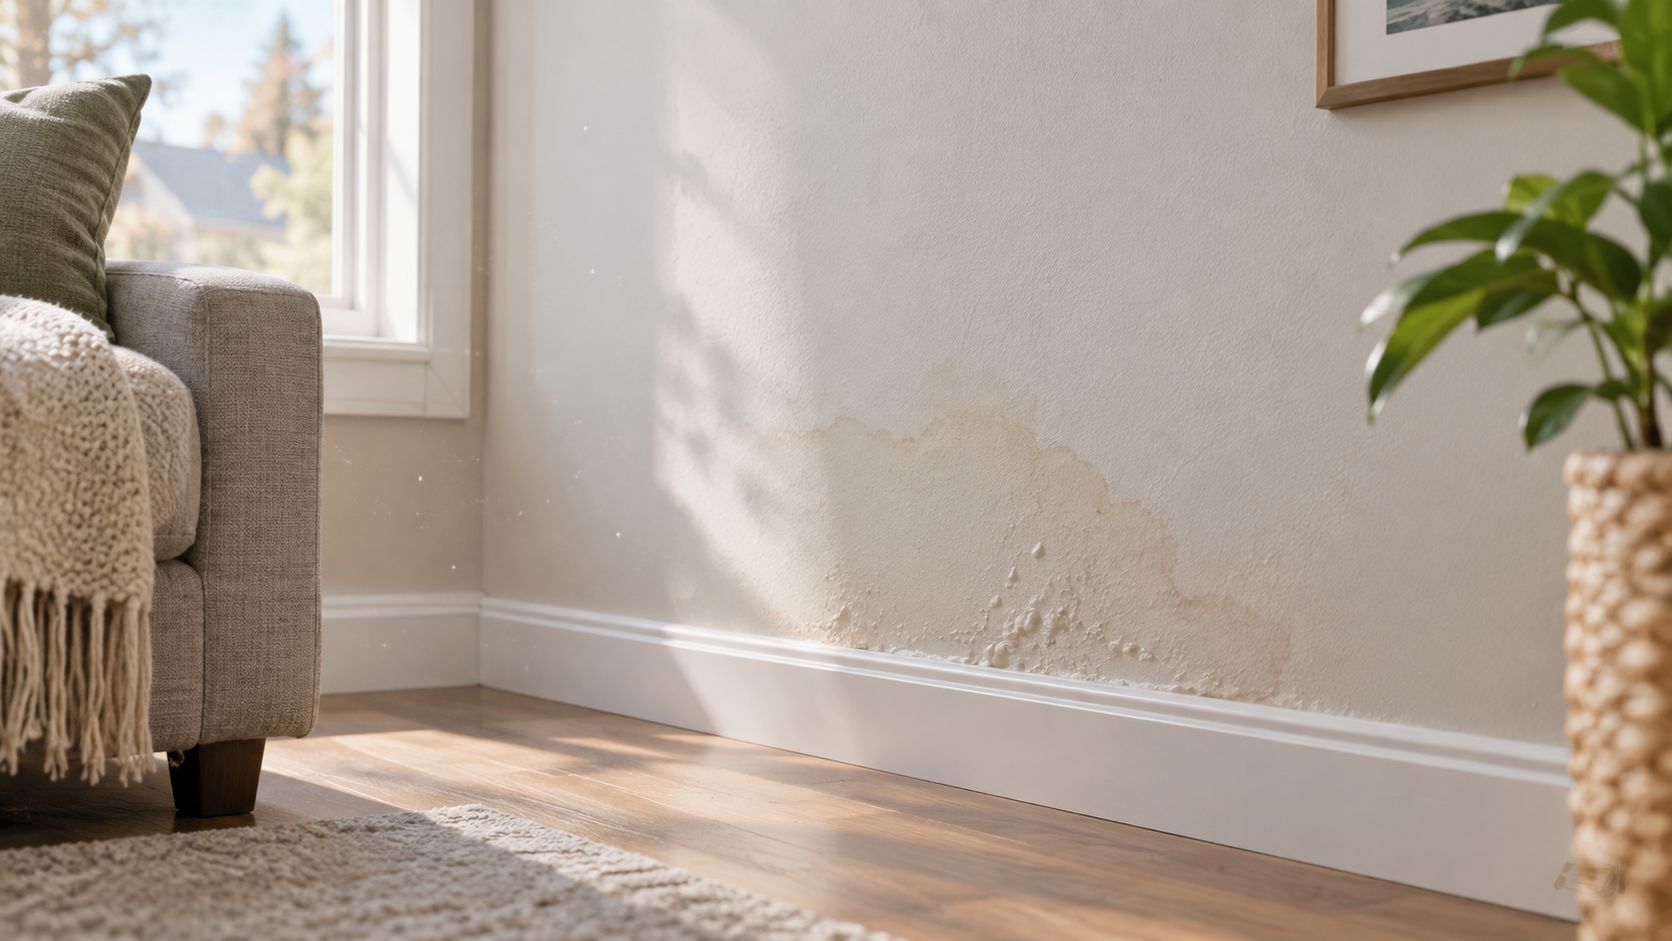
Table of Contents
- Recognizing Hidden Water Damage Before It Escalates
- Running a Staged Diagnostic Workflow for Suspected Wall Leaks
- Using Moisture Meters and Thermal Imaging Accurately
- Why Continuous Monitoring Changes Leak Detection Outcomes
- Deciding Between DIY Investigation and Professional Help
- Taking Immediate Action to Limit Water Damage
- Building a Smarter Approach to Wall Leak Prevention
Recognizing Hidden Water Damage Before It Escalates
A wall leak usually starts without warning. By the time someone notices a stain, the leak may already have been active long enough to affect framing, insulation, tenant comfort, and utility data at the same time.
I've seen properties chase the wrong symptom for weeks because the first clue looked harmless. A faint ring on paint gets dismissed as old damage, a musty corner gets blamed on poor ventilation, and a sticky bathroom door gets filed under seasonal humidity. Then the wall cavity opens and the actual issue shows up, often in a place that doesn't line up neatly with the visible stain.
What the early signs usually look like
The first signs are rarely dramatic. They're more often localized dampness, peeling paint, a persistent humidity smell, or a stain that keeps coming back after cleaning.
For a practical visual reference, CS1 Real Interiors on wall stains is a useful reminder that discoloration is often a symptom, not a diagnosis. In a multi-family building, that matters because one hidden leak can create multiple complaints from adjacent suites before the source is obvious.
Practical rule: treat any stain that changes shape, darkens again, or sits near plumbing as active until proven otherwise.
The financial part is what turns a nuisance into a management issue. Hidden water loss distorts consumption data, makes common-area bills harder to trust, and creates avoidable tenant friction when residents assume someone else is using the water.
Running a Staged Diagnostic Workflow for Suspected Wall Leaks
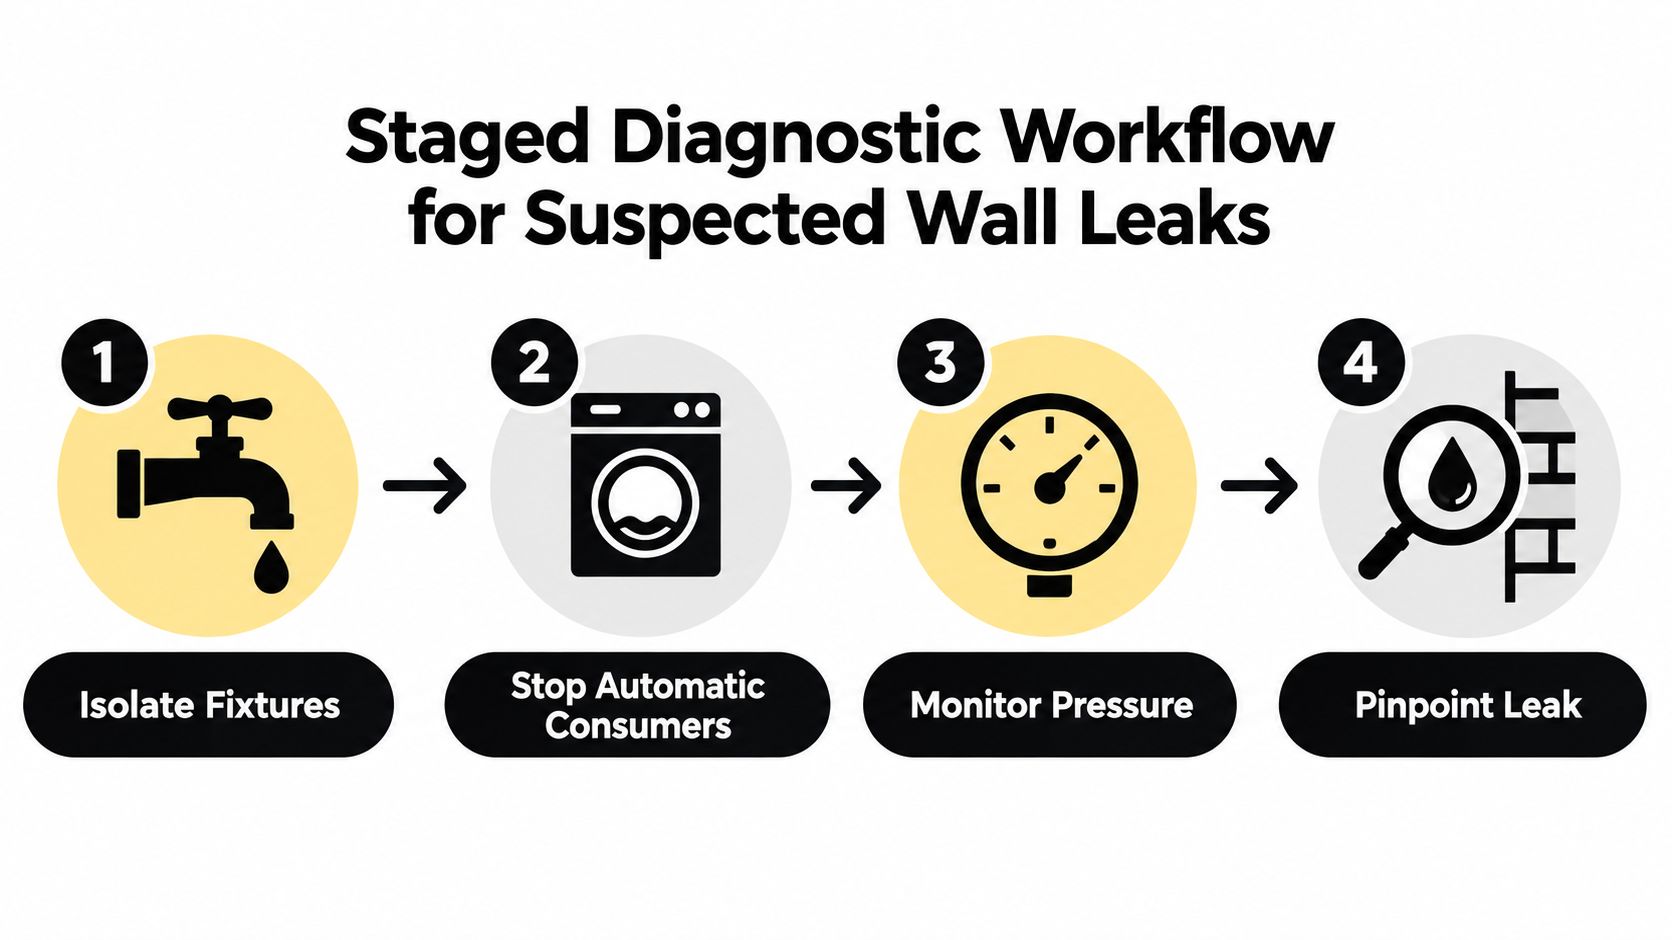
A clean investigation starts with isolation, not demolition. If you skip straight to opening drywall, you usually pay for labour twice, once to guess and again to repair the wrong area.
Start by shutting off everything that can muddy the meter picture. That means fixtures, appliance feeds, and automatic consumers like washing machines, dishwashers, and irrigation-related equipment if they're tied to the same supply path.
Follow the meter first
With all use stopped, watch the meter's low-flow indicator and record a baseline reading. If the indicator keeps moving, that strongly suggests an active leak, and a repeat reading after roughly 1 to 2 hours can help confirm low-volume loss. That short wait matters because tiny wall leaks often show themselves only through time, not through a big pressure drop.
Next, close fixture isolation valves one at a time. That separates a failed appliance valve or fixture supply from concealed branch piping. In older multi-family stock, that step saves a lot of needless drilling because not every wet wall is a wall pipe failure.
Map the suspect area, don't spot-check it
For a wall section that still looks suspicious, establish a dry reference point and scan the surface in a grid with a pinless moisture meter. Don't trust a single hot reading. Map the pattern and look for the highest cluster, because a leak path can travel away from the actual failure point before it shows on the finish.
Then move to listening and thermal tools only after the meter work supports it. Acoustic listening is useful for continuously pressurised supply leaks, while infrared thermography helps where moisture has altered heat storage or where warm-water piping creates contrast. A useful roof-focused companion is the Roof leak detection guide, because the discipline is similar, start broad, narrow carefully, confirm before opening.
The key is discipline. A stain is evidence, but it isn't proof of the source.
Using Moisture Meters and Thermal Imaging Accurately
Moisture meters are good at narrowing the search, not declaring a verdict. A pinless unit scans under the surface, which makes it ideal for broad wall sweeps, while pin meters are better when you need confirmation at a specific point after the suspect zone is found.
The mistake I see most often is treating one high number like a smoking gun. Wall assemblies vary, finishes behave differently, and old repairs can hold moisture or trap it unevenly. The better habit is to scan a systematic grid and compare readings across adjacent areas that should behave the same.
What each tool actually tells you
Thermal imaging can be useful when damp material changes heat storage or when warm-water piping creates contrast. It's fast, and it can point you toward a problem zone without disturbing finishes. But it doesn't directly prove a rupture, because insulation gaps, framing differences, HVAC effects, and evaporation can all create similar temperature patterns.
Acoustic listening has its own limits. It works best on continuously pressurised supply leaks, and it's weaker for intermittent leaks, drain leaks, low-pressure losses, and noisy buildings. That's why a quiet mechanical room can be easier to work in than a busy corridor, even when the leak is smaller.
Detection Method
Best For
Key Limitation
When to Use
Pinless moisture meter
Broad wall scanning
Doesn't confirm the source
First pass on finished walls
Pin meter
Targeted verification
Small contact area
After a suspect zone is mapped
Thermal imaging
Temperature anomalies tied to wet materials
False positives from non-leak conditions
Screening before selective access
Acoustic listening
Continuously pressurised supply leaks
Weak on intermittent or noisy sites
When flow is still active
A consultant I trust once summed it up this way: find the pattern first, prove the source second. That mindset prevents unnecessary openings and keeps the repair focused on the actual failure point.
Why Continuous Monitoring Changes Leak Detection Outcomes
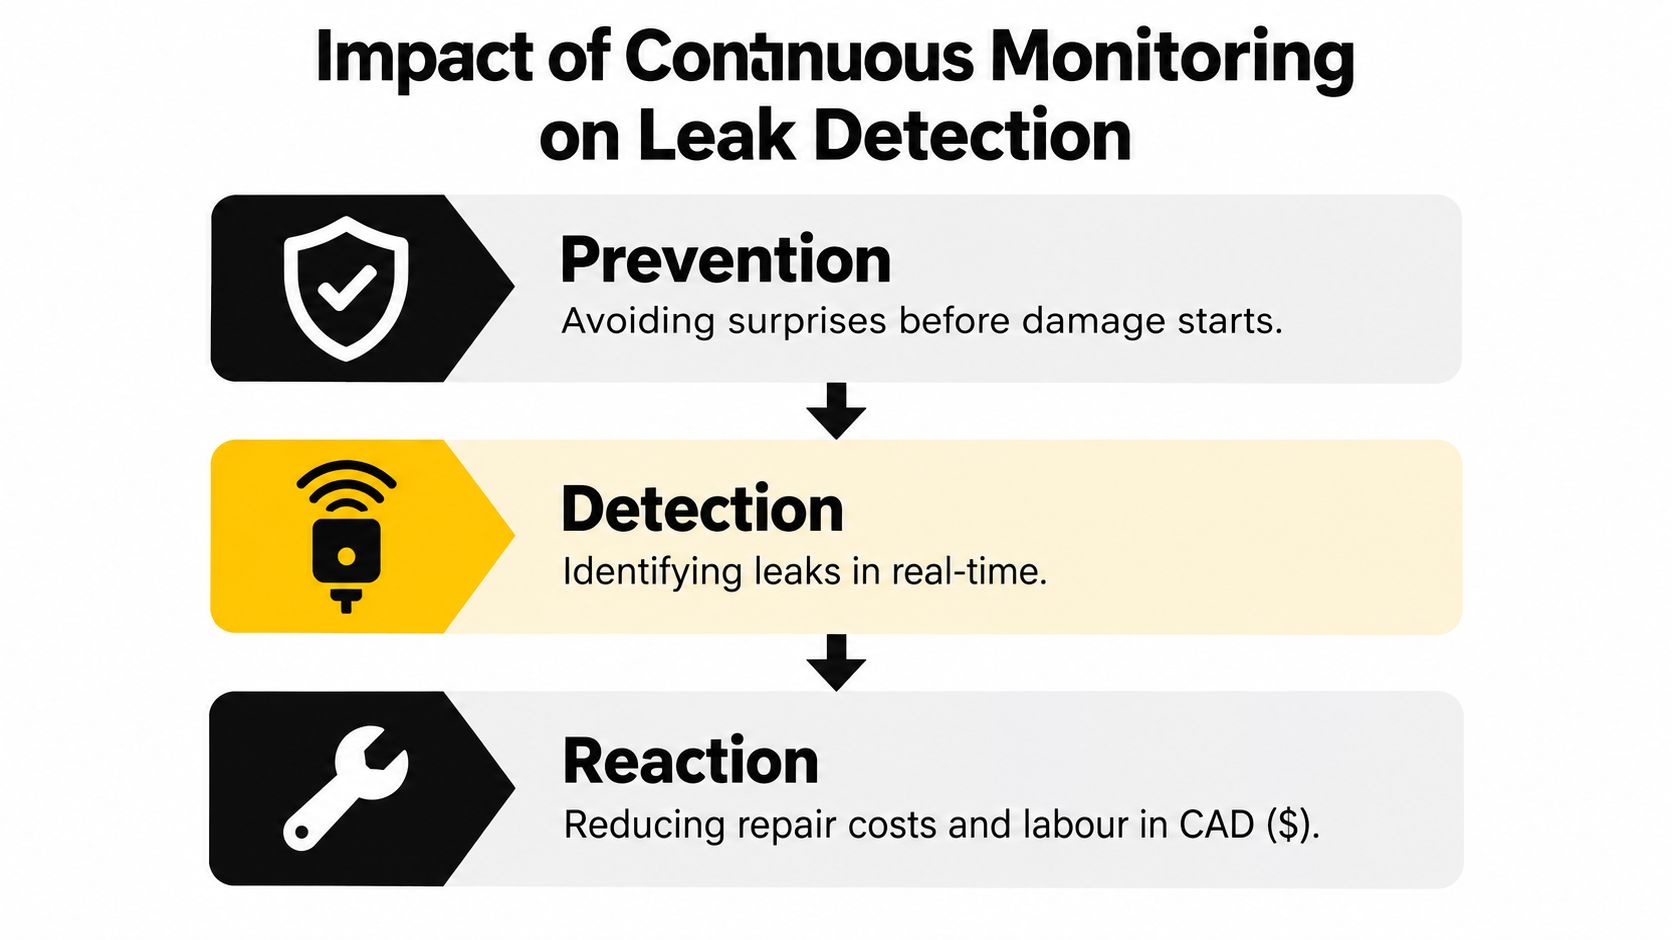
Continuous monitoring changes the job from reactive to preventative. In multi-family, condominium, and mixed-use properties, it's the difference between catching a leak in one suite and discovering it only after complaints ripple across a stack of units.
California's water-loss-control framework treats leak detection as part of formal accountability for urban water suppliers, and the logic translates neatly to buildings. A concealed leak becomes more serious as it stays active longer, even if the flow looks modest at first, because duration is part of the damage equation. The same thinking is why unit-level meters and automatic alerts are so valuable in properties where normal consumption varies from one occupant to the next, as described in California's water-loss-control framework.
What good monitoring changes in practice
Sensors near vulnerable walls, risers, and mechanical spaces shorten the gap between failure and response. That's the core benefit, because the building doesn't need a dramatic failure to justify attention, it needs an alert before the problem spreads.
Axis Meter Solutions provides water submetering and leak and flood detection as part of its building programmes, which is relevant when owners want consumption visibility plus alerts in the same system. An Axis Meter leak detection sensor is one example of how that kind of setup gets discussed in practice, alongside metering rather than as a separate afterthought.
Continuous monitoring isn't about replacing inspections. It's about making the next inspection shorter, cheaper, and more defensible.
The payoff is operational, not flashy. You get better budgeting, faster response, and fewer arguments about whether a spike was normal use or a hidden failure.
Deciding Between DIY Investigation and Professional Help
DIY makes sense when you're trying to answer a narrow question, like whether a meter is still moving after fixtures are shut off or whether one wall section reads higher than the area beside it. It makes less sense when the building is occupied, the leak path is unclear, or the cost of opening the wrong wall is higher than the cost of bringing in a pro.
The trade-off is simple. DIY keeps upfront spend lower, but it raises the risk of missed leaks, misread data, and repeat labour. Professional diagnosis costs more on day one, but it usually pays for itself when the property is large, the finishes are expensive, or the complaint pattern suggests the leak isn't where the stain is.
Where the line usually falls
If the issue seems local and the meter behaviour is obvious, a property team can often handle the first pass. That includes shutting off fixtures, checking for meter movement, and documenting moisture readings before anyone cuts into the wall.
If the leak appears to be behind a shared wall, inside a mechanical chase, or tied to repeated tenant complaints, bring in a licensed plumber or a leak-detection specialist. That's especially true when failed repairs would trigger more disruption than the original issue.
Option
Strength
Weak Point
Best Use
DIY investigation
Low upfront cost
Easy to misdiagnose
Initial screening and documentation
Professional help
More accurate diagnosis
Higher service fee
Complex, occupied, or recurring leaks
For owners comparing service models, the leak detection system cost overview is worth reading because it frames detection as part of a building-wide risk decision, not just a one-off callout. The right spend is the one that avoids repeat damage, not the one that feels cheapest at the invoice stage.
Taking Immediate Action to Limit Water Damage
While the investigation is underway, the goal is to slow the damage, not improvise a repair. Don't wait for perfect information before taking basic protective steps, because time is one of the few factors you can control.
Start by limiting water access to the affected zone if you know the likely branch or fixture. Then protect finishes and contents nearby, especially in occupied suites where standing moisture can spread into baseboards, cabinets, and adjacent rooms.
Practical moves that help right away
- Document the condition: Take dated photos of stains, bubbling paint, damp flooring, and meter readings. That record helps with insurance conversations, vendor handoffs, and tenant communication.
- Reduce moisture exposure: Keep the area ventilated and remove items that trap humidity near the wall.
- Separate the space: If the leak is near a tenant's living area, make clear which zones should stay unused until the source is confirmed.
- Track what changes: Recheck the stain, moisture readings, and any smell at the same time each day so you can see whether the issue is active or stabilising.
Communication matters too. Tenants get frustrated fast when they think nobody is tracking the issue, so be specific about what's being checked and when the next update will come. That kind of clarity doesn't fix the leak, but it does reduce avoidable conflict while the building is still vulnerable.
Building a Smarter Approach to Wall Leak Prevention
The strongest leak programmes don't rely on a single tactic. They combine staged diagnostics, accurate tools, continuous monitoring, and fast escalation when the evidence points beyond a simple fixture issue.
That discipline protects the asset in three ways. It limits avoidable wall opening, it keeps water bills more believable, and it reduces the back-and-forth that wears down resident trust. In practice, that means treating leak detection as an operating standard, not a crisis response.
The other advantage is consistency. If your team uses the same meter checks, the same moisture-mapping habits, and the same escalation logic every time, you stop reinventing the process under pressure. That's where a water leak detection meter becomes part of the workflow rather than just another device in a cabinet.
The properties that stay ahead of wall leaks usually do one thing well, they respond early. Measure first, confirm carefully, and act before a hidden drip turns into a tenant issue, a common-area expense, or a repair that should've been small.
If you manage multi-family or commercial space and want leak detection tied to submetering, alerts, and ongoing service, Axis Meter Solutions can help you assess a building-wide setup that fits your property. It's a practical next step if you're trying to reduce hidden water loss and get clearer consumption data without taking on another in-house system to maintain.
Ready to Optimize Your Utility Management?
Tell us about the property, utility, number of units, and your billing or monitoring goals. We'll help you identify the right next step.
Book a Call